Wintun Windows TUN virtual network interface
The Wintun virtual network device functions as a TUN interface. It allows users to create a virtual network adapter that enables direct access to network-layer (IP) packets using standard file read/write operations. Just like a physical network card, it supports setting IP addresses, configuring routes, and transmitting data. However, unlike a physical card, all data transmission (reading and writing) is handled entirely by user-defined programs.
In order to develop WireGuard for Windows, Wintun was developed and open sourced, distributed as a dynamic library.
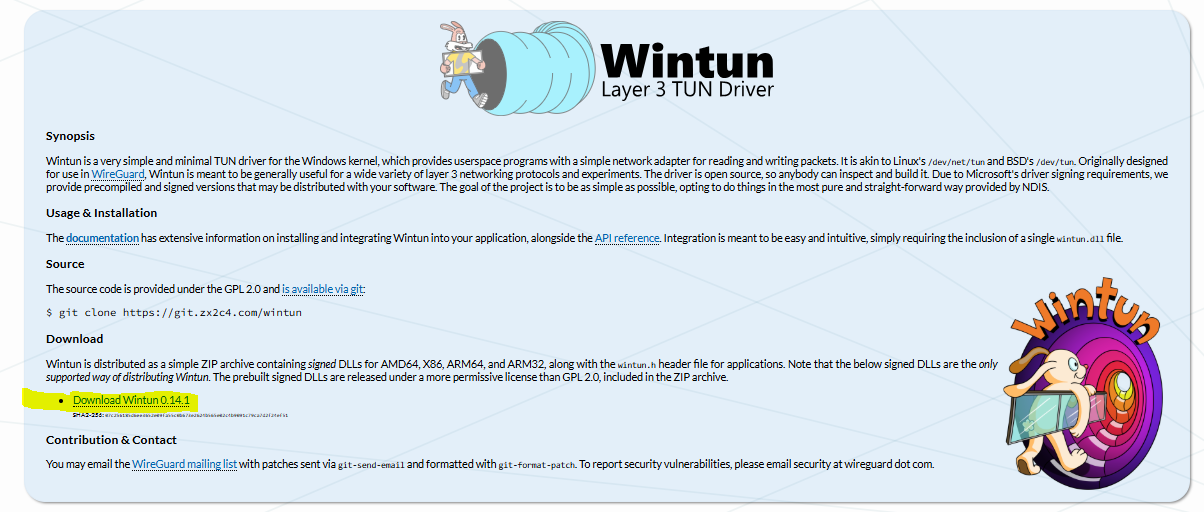
Download wintun
Wintun is developed in C language and distributed as a dynamic library.
After downloading, unzip the file and the directory is as follows:

\bin The dynamic libraries of various platform versions are stored in the .txt file. Here you only need to select the appropriate dynamic library according to the platform.
amd64: Windows 64-bit
x86: Windows 32-bit
Getting Started
https://github.com/mascarenhasmelson/wintun-tunnel
Create a virtual network card
WireGuard developed Wintun GO interface binding, install WireGuardGO dependencies
golang.zx2c4.com/wireguard/tun
If the program displays an “Unable to load library” error during execution, please ensure that wintun.dll is located in the same directory as the executable file.
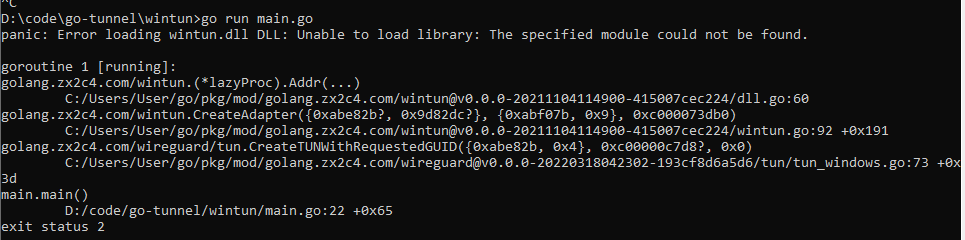
You may still see this error message when running the code, but it can be safely ignored as long as wintun.dll is correctly placed in the same folder as main.go and the compiled binary.
Next, run the following command to compile main.go into an executable file named interface.exe
go build -o interface.exe
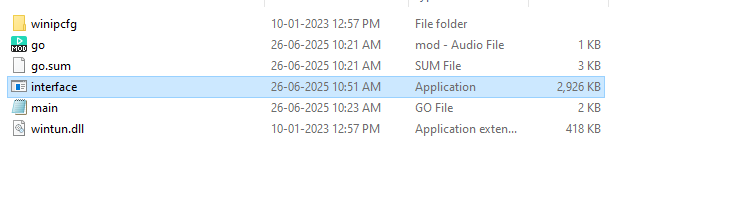
After running the command, you will see the interface.exe file generated in the current directory.
Run interface.exe with administrator privileges.

You can find the virtual network adapter listed under Network Connections.
Set network card IP and routing
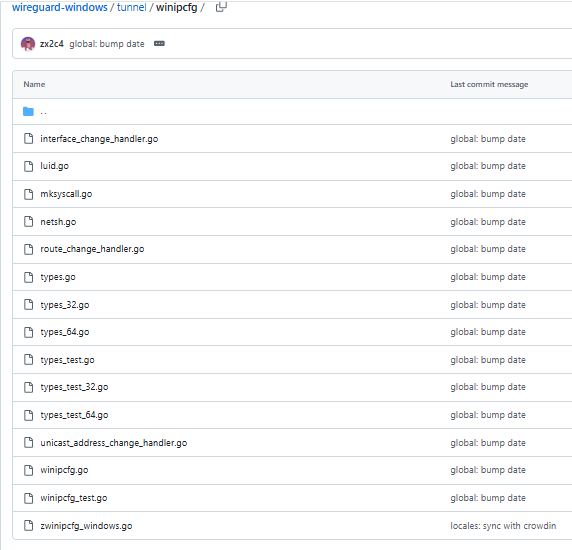
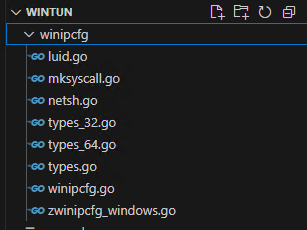
To set the network card IP, you need to use the Windows API. I copied some APIs from wireguard wireguard-windows/winipcfg
 To the project
After obtaining the device, perform a type cast to retrieve its LUID (Locally Unique Identifier), then use the appropriate APIs to complete the configuration.
  //luid
	id := &windows.GUID{
		0xdeadbabe,
		0xcafe,
		 0xbeef,
		[8]byte{ 0x01, 0x23, 0x45, 0x67, 0x89, 0xab, 0xcd, 0xef },
	}
	ifname := "Test"
	dev, err := tun.CreateTUNWithRequestedGUID(ifname, id, 0)
	if err != nil {
		panic(err)
	}
	defer dev.Close()

	nativeTunDevice := dev.(*tun.NativeTun)

	link := winipcfg.LUID(nativeTunDevice.LUID())

	ip, err := netip.ParsePrefix("10.10.0.1/24")
	if err != nil {
		panic(err)
	}
	err = link.SetIPAddresses([]netip.Prefix{ip})
	if err != nil {
		panic(err)
	}
Once the program is running, you can verify that the IP was successfully set by running the ipconfig command.

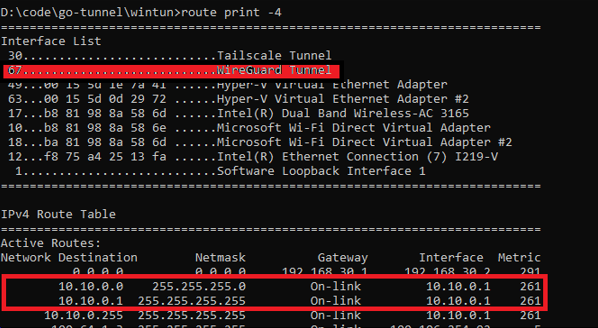
You can also verify that the routing is successfully configured by running the command route print -v.
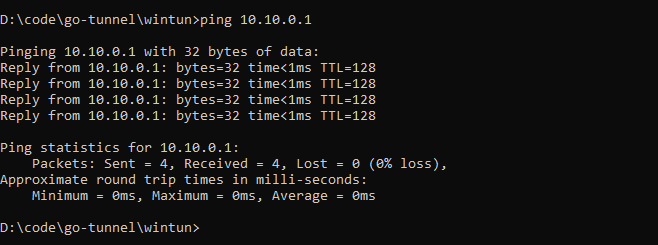
You can verify connectivity by using the ping command to ping the interface’s IP address.
Data Reading and Writing
After setting up the IP and routing, you can use the API to Read and Write IP packets. For example, here’s how to read ICMP packets
//Read packets
for {
  n = 2048
  n, err = dev.Read(buf, 0)
  if err != nil {
    panic(err)
  }
  const ProtocolICMP = 1
  header, err := ipv4.ParseHeader(buf[:n])
  if err != nil {
    continue
  }
  if header.Protocol == ProtocolICMP {
    log.Println("Src:", header.Src, " dst:", header.Dst)
    msg, _ := icmp.ParseMessage(ProtocolICMP, buf[header.Len:])
    log.Println(">> ICMP:", msg.Type)
  }
}
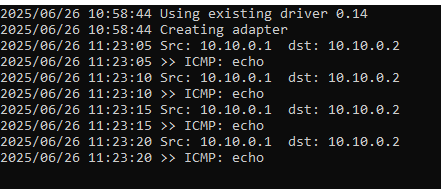
After running the program, you can ping any IP address within the subnet, such as 10.10.0.2, or other IP addresses in the same network segment.

can be seen printed in the console:
Note: When deploying your application, make sure to include wintun.dll in the same directory as the executable. This DLL is essential for the program to function properly. If you’re distributing the software to others, ensure they have wintun.dll alongside the executable to avoid runtime errors.