Peer-to-Peer Networking: Build a VPN Tunnel with Wintun on Windows - Part 1

Introduction#
I’ve been using Tailscale for years to access my home lab without the need for a public IP. Tailscale can be installed on almost any device, allowing you to securely connect and access them from anywhere. It works as a peer-to-peer, mesh-style VPN, is opensource, and completely free for up to 100 devices and 10 users. They also offer a business plan for larger setups.
What always fascinated me was how Tailscale works seamlessly across platforms like Linux, macOS, Android, and Windows. Since I use both Linux and Windows in a dual-boot setup, I started digging deeper. On Linux, it’s straightforward they rely on a TUN interface. But on Windows, I was curious about the Layer 3 adapter being used under the hood. After exploring the Tailscale GitHub repo, I discovered that it uses Wintun a TUN driver for Windows developed by the WireGuard project.
Tailscale secures user-space packets using public and private key encryption. That made me curious about how peer-to-peer (P2P) communication could be achieved without encryption by simply exchanging plain packets.
In this blog, This part lays the groundwork for creating a VPN tunnel on Windows, which I’ll explore in detail in Part 2.
Wintun Windows TUN virtual network interface#
Wintun acts as a Layer 3 virtual adapter that allows user-space applications such as VPN software to directly work with IP packets. It functions as a TUN interface, creating a virtual network adapter that provides direct access to network layer (IP) packets through simple file read and write operations. Much like a physical network card, it supports assigning IP addresses, configuring routes, and transmitting data. The key difference is that, unlike real hardware, all packet transmission and handling are managed entirely by user-defined programs in user space.
In order to develop WireGuard for Windows, Wintun was developed and open sourced, distributed as a dynamic library.
Download wintun#
Wintun is developed in C language and distributed as a dynamic library.
After downloading, unzip the file and the directory is as follows:
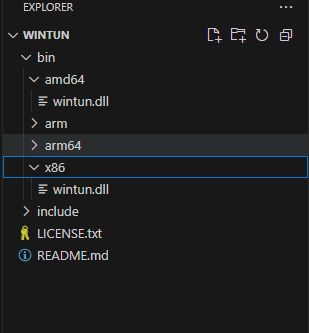
\bin The dynamic libraries of various platform versions are stored in same folder. Here you only need to select the appropriate dynamic library according to the platform.
amd64: Windows 64-bit
x86: Windows 32-bit
Getting Started#
Link to a repo https://github.com/mascarenhasmelson/wintun-tunnel
Create a virtual network card#
WireGuard developed Wintun GO interface binding, install WireGuardGO dependencies
golang.zx2c4.com/wireguard/tun
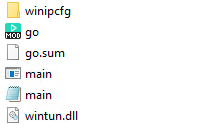
If the program displays an “Unable to load library” error during execution, please ensure that wintun.dll is located in the same directory as the executable file.
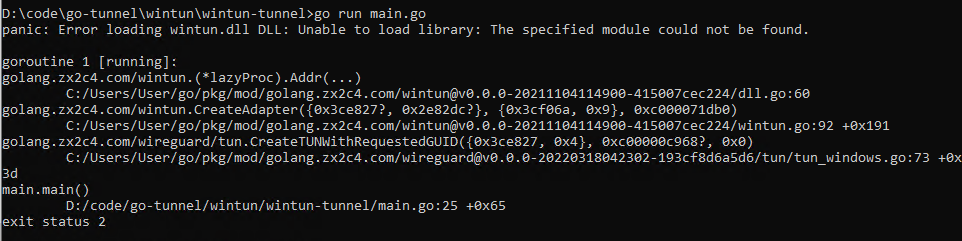
You may still see this error message when running the code, but it can be safely ignored as long as wintun.dll is correctly placed in the same folder as main.go and the compiled binary.
Next, run the following command to compile main.go into an executable file named main.exe
go build -o main.exe
After running the command, you will see the main.exe file generated in the current directory.
Run main.exe with administrator privileges.

You can find the virtual network adapter listed under Network Connections.
Set network card IP and routing#
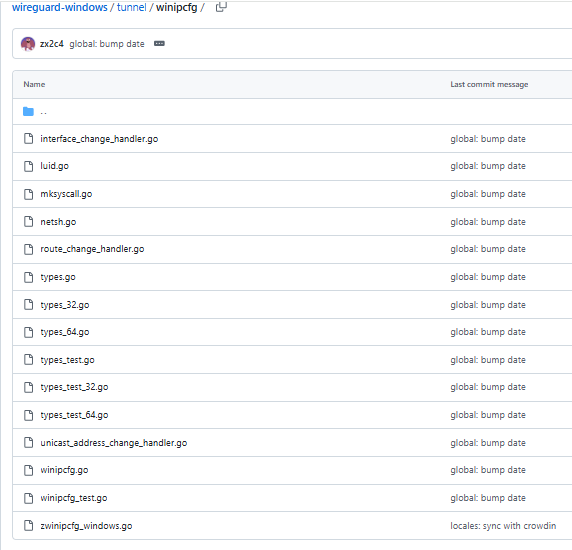
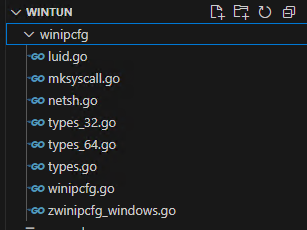
To set the network card IP, you need to use the Windows API. I copied some APIs from wireguard wireguard-windows/winipcfg
 To the project
After obtaining the device, perform a type cast to retrieve its LUID (Locally Unique Identifier), then use the appropriate APIs to complete the configuration.
//luid
id := &windows.GUID{
0xdeadbabe,
0xcafe,
0xbeef,
[8]byte{0x01, 0x23, 0x45, 0x67, 0x89, 0xab, 0xcd, 0xef},
}

ifname := "Test"
dev, err := tun.CreateTUNWithRequestedGUID(ifname, id, 0)
if err != nil {
panic(err)
}
defer dev.Close()

nativeTunDevice := dev.(*tun.NativeTun)

link := winipcfg.LUID(nativeTunDevice.LUID())

ip, err := netip.ParsePrefix("100.64.1.1/24") //cgnat ip
if err != nil {
panic(err)
}
err = link.SetIPAddresses([]netip.Prefix{ip})
if err != nil {
panic(err)
}
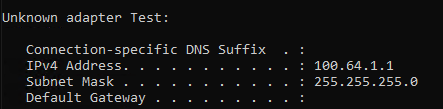
Once the program is running, you can verify that the IP was successfully set by running the ipconfig command.
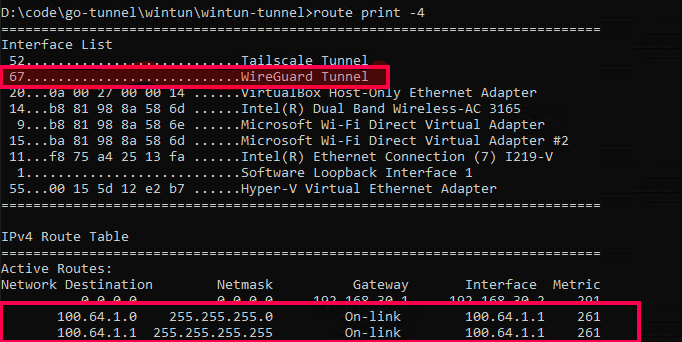
You can also verify that the routing is successfully configured by running the command route print -v.
Data Reading and Writing#
After setting up the IP and routing, you can use the API to Read and Write IP packets. For example, here’s how to read ICMP packets
//read packets
	for {
		n = 2048

		n, err = dev.Read(buf, 0)
		if err != nil {
			panic(err)
		}
		const ProtocolICMP = 1
		header, err := ipv4.ParseHeader(buf[:n])
		if err != nil {
			continue
		}
		//comparing ping
		if header.Protocol == ProtocolICMP {
			log.Println("source IP:", header.Src, " destination IP:", header.Dst)
			msg, _ := icmp.ParseMessage(ProtocolICMP, buf[header.Len:])
			log.Println(" icmp message echo:", msg.Type)
		}
	}
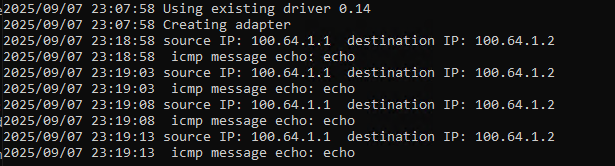
After running the program, you can ping any IP address within the subnet, such as 100.64.1.2, or other IP addresses in the same network segment.
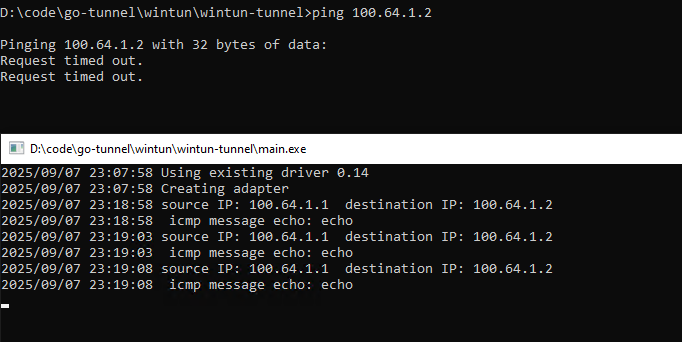
can be seen printed in the console:
Note: When deploying your application, make sure to include wintun.dll in the same directory as the executable. This wintun.dll is essential for the program to function properly. If you’re distributing the software to others, ensure they have wintun.dll alongside the executable to avoid runtime errors.