Introduction
I was experimenting with the Raspberry Pi DTS tree setup, and as soon as I saved the configuration, it asked for a reboot however, after rebooting the machine, I was unable to access the Wikijs service.
When I was troubleshooting the problem, I saw that the default docker bridge IP address that it was assigned had changed for both wikijs (frontend) and mysql (backend database). When I rebooted the raspberry PI, both of its containers IP addresses changed. Then I updated their IP address by altering an environment variable. Suddenly it occurred to me that if I reboot the Raspberry Pi several times, I may need to reconfigure the IP address of the wikijs container multiple times.
I considered creating a separate user-defined docker bridge for each service, such as wikijs and mysql, instead of using the default bridge network. This time, I created a separate user-defined bridge and configured IP addresses as static for both containers. You may be wondering what the difference is between docker default and user-defined bridge. Creating a user-defined bridge network gives you more control over container communication and IP management. Every time we create a Docker container, it is automatically added to the default Docker bridge network. We can separate containers IP networks based on projects or services. It is the same as building VLAN networks.
I will lead you through the process of creating one, configuring it, and understanding its benefits.
These are steps to create user-defined bridge.
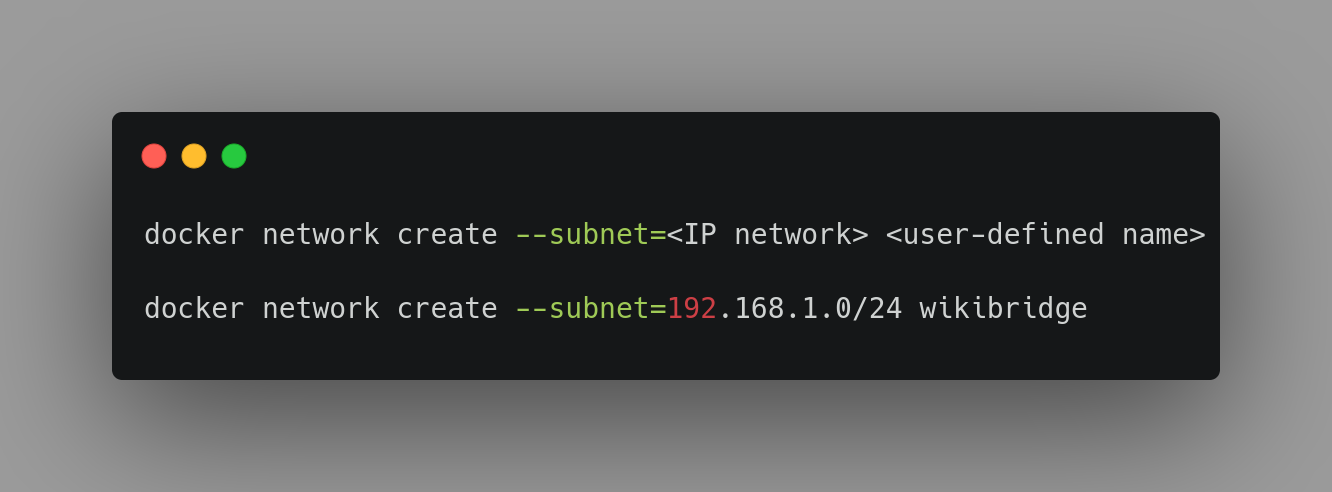
Step 1
Command to create docker user-defined bridge.
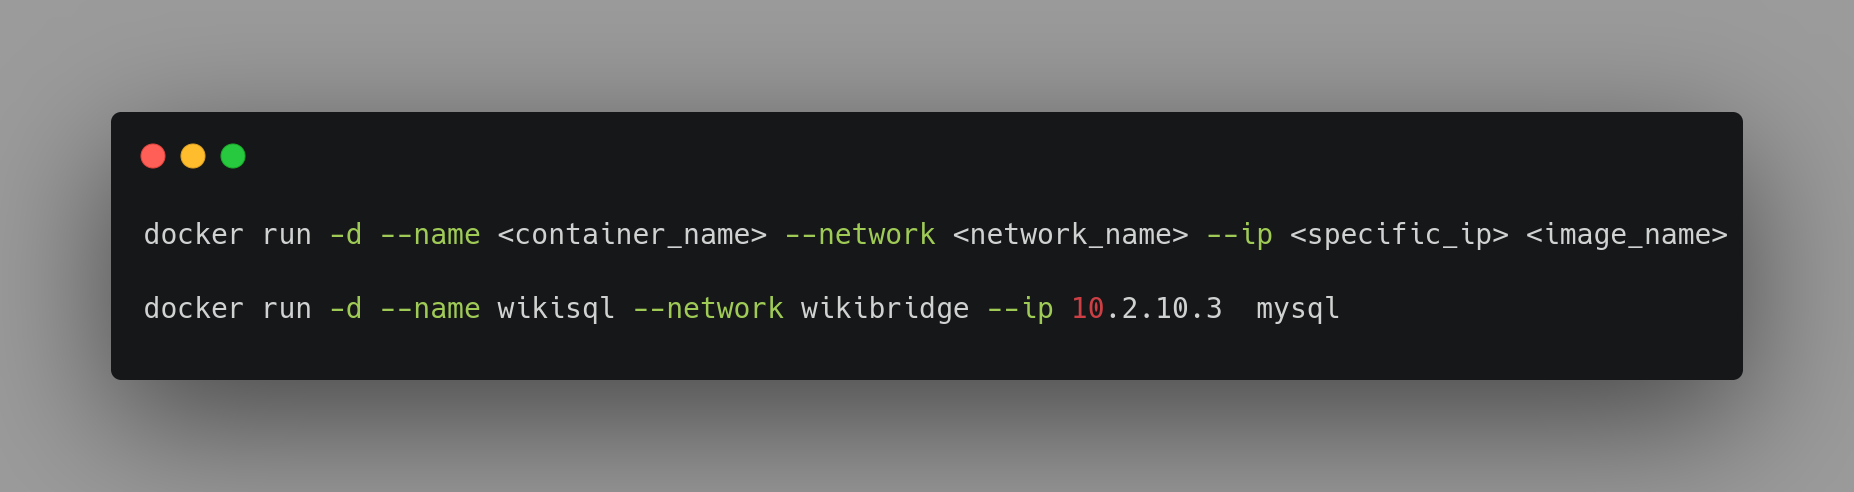
Step 2
Attach user-defined network IP addresses to containers.
Step 3
Repeat Step 2 for each new container that you want to add to the particular network.
Give it a try, and you’ll see how much smoother managing containerized services becomes when you take control of your network setup!.