BGP: Setting Up and Peering in the DN42 BGP Network Using a MikroTik Router

Introduction#
As a Network engineer, I’ve always dreamed of announcing my own BGP routes and peering with others. I wanted the experience of running a decentralized BGP network not just in a lab environment, but in a real, persistent setup that could run indefinitely. After some research, I discovered DN42, a community driven platform that makes this possible without requiring expensive ASNs or public IP allocations.
With DN42, I can establish my own autonomous system, peer with other network enthusiasts, and even run my setup on a home router or a Raspberry Pi. This blog will document my journey into selfhosted BGP, the challenges I faced, and how I built my own decentralized network. If you’re a networking enthusiast looking to explore BGP beyond traditional environments, you’re in the right place!
What is DN42?#
DN42 is a large decentralized network that simulates the internet by utilizing WAN technologies such as BGP, WHOIS databases, and DNS. Members establish connections through VPN tunnels like GRE, OpenVPN, WireGuard, or IPsec and exchange routes using BGP.
Why DN42?#
DN42 can be used to learn networking and connect private networks, such as hackerspaces or community networks. But above all, experimenting with routing in DN42 is fun! More importantly, if you misconfigure something, you don’t have to worry about causing global outages like a Facebook engineer did.
How to connect/Access to DN42 registry#
The Registry
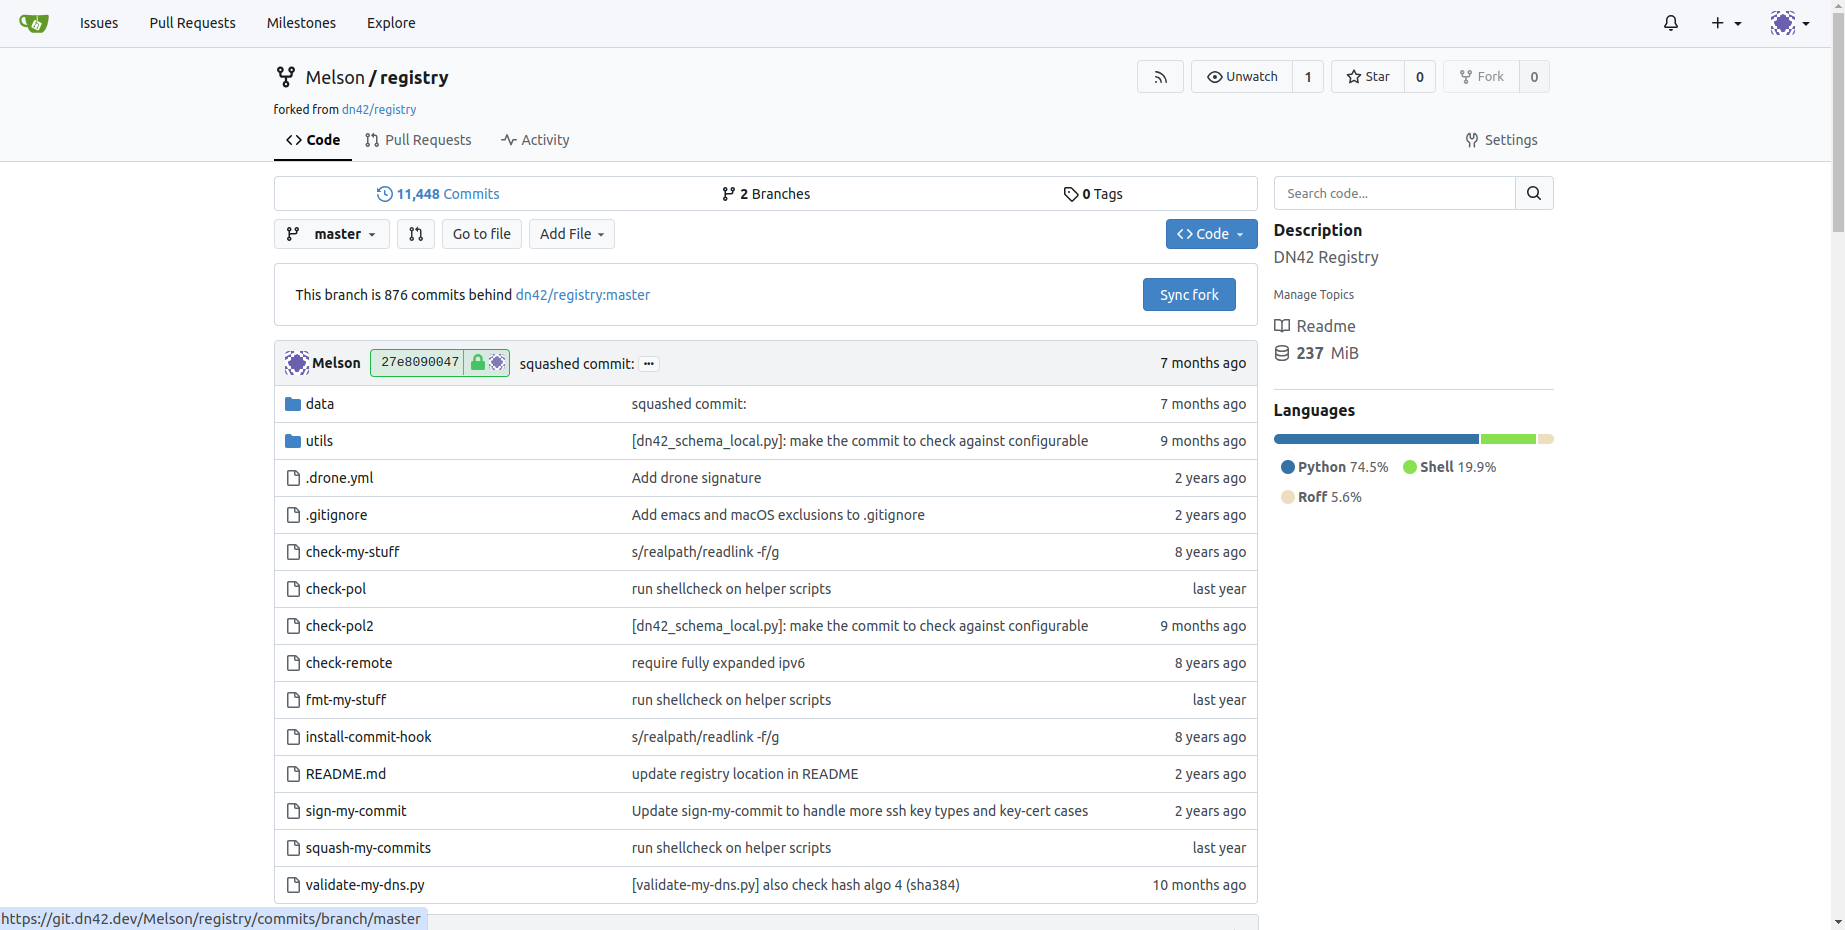
The DN42 registry is a central database that records all network participants, their Autonomous Systems (ASes), and the IP address ranges assigned to them.
It functions similarly to a Regional Internet Registry (RIR) like APNIC (Asia-Pacific),ARIN (North America) or RIPE (Europe). The registry is managed as a Git repository, with a team of moderators responsible for reviewing and approving change requests.
Claiming an IP Range and AS Number.#
DN42 uses the 172.20.0.0/14 range for IPv4 addresses. Moreover, DN42 recommends using either a /27 or /28 subnet. In my case, I was assigned a /28 since only a few IPv4 addresses were left, and they wanted to minimize wastage. This restriction applies only to IPv4, not IPv6.
To get started, you need to sign up for the DN42 Git registry and clone the repository. Then, you must manually search for and register an AS number and IP addresses (both IPv4 and IPv6). I went through the entire process manually, which was quite time consuming most of the effort went into searching for available subnets and calculating allocations.
If you find any tools that automate IPv4 allocation, I highly recommend using them, as manually searching for and assigning an IPv4 subnet can be time-consuming. Additionally, I strongly suggest going through this document, Follow the guide to register your own AS number and other required details. Be sure to strictly follow the syntax rules, as an automated script will validate your entries before allowing them to be pushed to the main repository.
If there are any syntax errors, your submission will be rejected, leading to further delays in approval from the administrators. Also, do not share any personal information, as it is strictly prohibited. Lastly, reviewing other other users commits can be helpful, as they provide useful examples and insights.
I chosed /28 subnets which is enough for me
- An IPv4 subnet of 172.23.14.128/28
- AN IPv6 subnet of fdaa:1ad2:eb1e::/48
- An Autonomous System Number of AS4242423147
Making changes to the git repo.
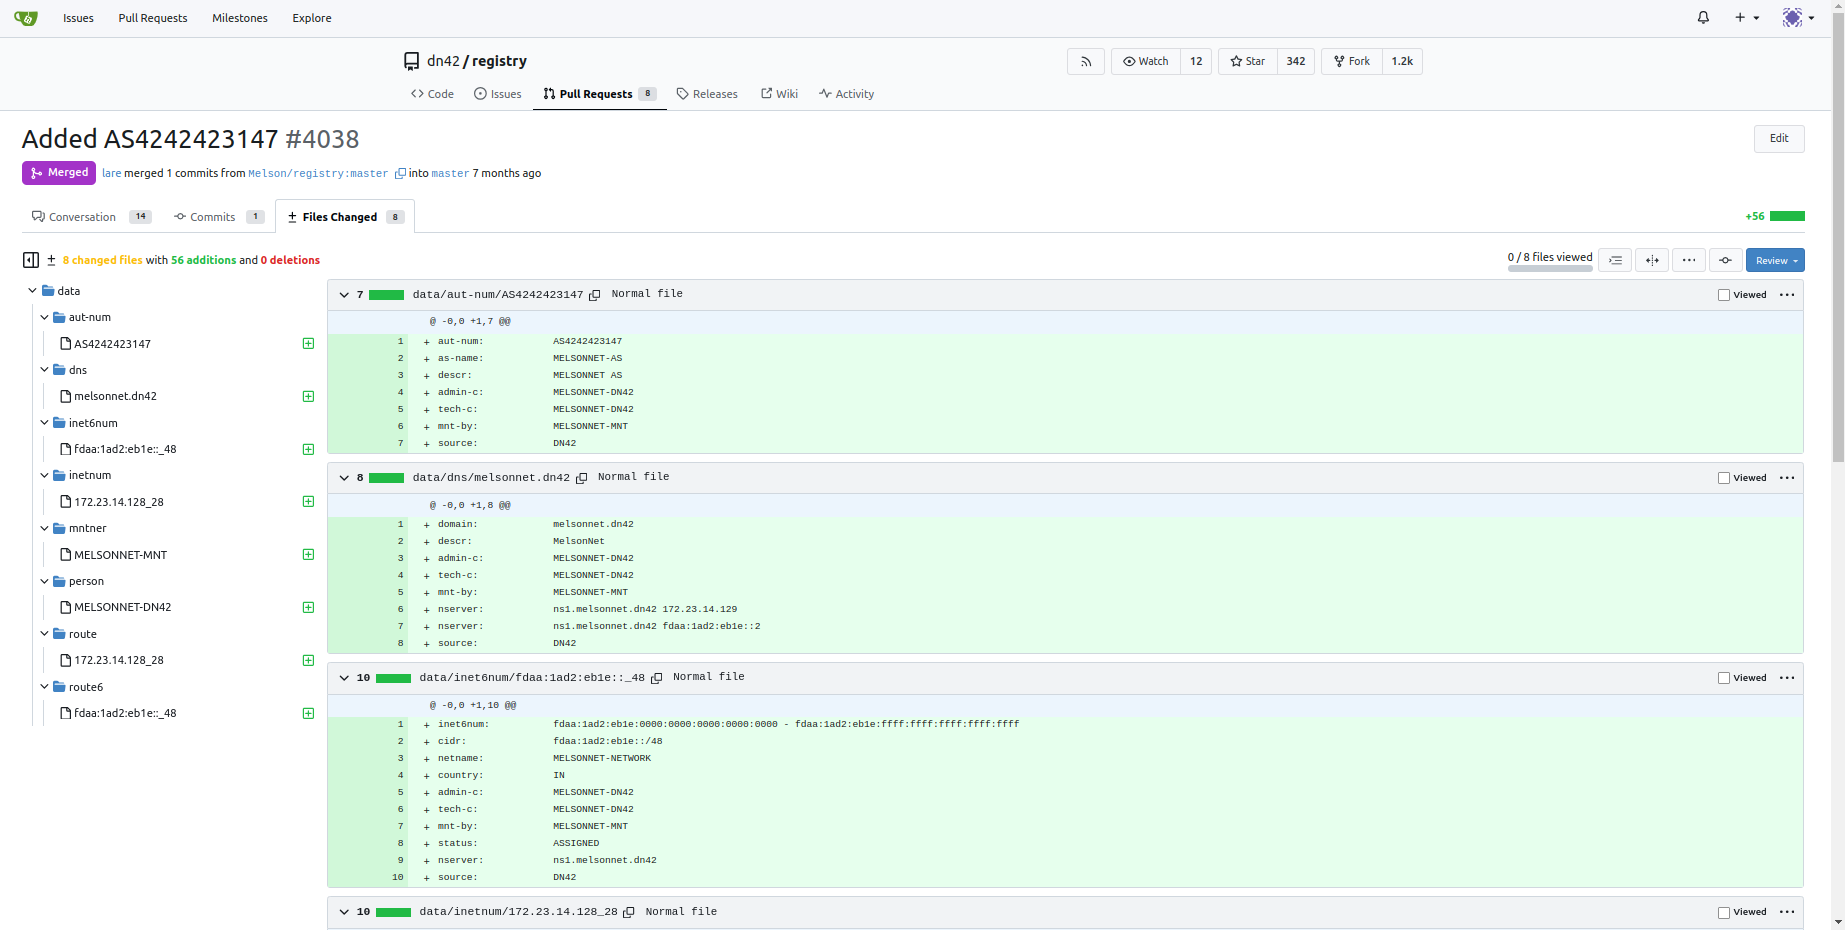
After cloning git the repo to my local machine, I created the following files in the data/ directory:
data/aut-num/AS4242423147 - the AS number
aut-num:            AS4242423147
as-name:            MELSONNET-AS
descr:              MELSONNET AS
admin-c:            MELSONNET-DN42
tech-c:             MELSONNET-DN42
mnt-by:             MELSONNET-MNT
source:             DN42
data/inetnum/172.23.14.128_28 - IPv4 range
inetnum:            172.23.14.128 - 172.23.14.143
cidr:               172.23.14.128/28
netname:            MELSONNET-NETWORK
country:            IN
admin-c:            MELSONNET-DN42
tech-c:             MELSONNET-DN42
mnt-by:             MELSONNET-MNT
status:             ASSIGNED
nserver:            ns1.melsonnet.dn42
source:             DN42
data/inet6num/fdaa:1ad2:eb1e::_48 - IPv6 Range
inet6num:           fdaa:1ad2:eb1e:0000:0000:0000:0000:0000 - fdaa:1ad2:eb1e:ffff:ffff:ffff:ffff:ffff
cidr:               fdaa:1ad2:eb1e::/48
netname:            MELSONNET-NETWORK
country:            IN
admin-c:            MELSONNET-DN42
tech-c:             MELSONNET-DN42
mnt-by:             MELSONNET-MNT
status:             ASSIGNED
nserver:            ns1.melsonnet.dn42
source:             DN42
data/mntner/MELSONNET-MNT - data about the maintainer, including my PGP (for verification purposes).
mntner:             MELSONNET-MNT
admin-c:            MELSONNET-DN42
tech-c:             MELSONNET-DN42
mnt-by:             MELSONNET-MNT
source:             DN42
auth:               pgp-fingerprint E98263EBF57E5BD7493196C478827E7FB4EF6686
data/person/MELSONNET-DN42
person:             MELSON
nic-hdl:            MELSONNET-DN42
mnt-by:             MELSONNET-MNT
e-mail:             dn@rulewithmelson.com
source:             DN42
data/route/172.23.14.128_28 - route for IPv4
route:              172.23.14.128/28
origin:             AS4242423147
max-length:         28
mnt-by:             MELSONNET-MNT
source:             DN42
data/route6/fdaa:1ad2:eb1e::_48 - route for IPv6
route6:             fdaa:1ad2:eb1e::/48
origin:             AS4242423147
max-length:         48
mnt-by:             MELSONNET-MNT
source:             DN42
Once I pushed my commit, I created a pull request and waited for it to be approved.
The routing part#
Onto the actual BGP announcement…
While most DN42 users opt for a software defined BGP daemon like Bird and Quagga, I chose to use my existing Mikrotik SOHO router. It’s a great router, with a large range of features.
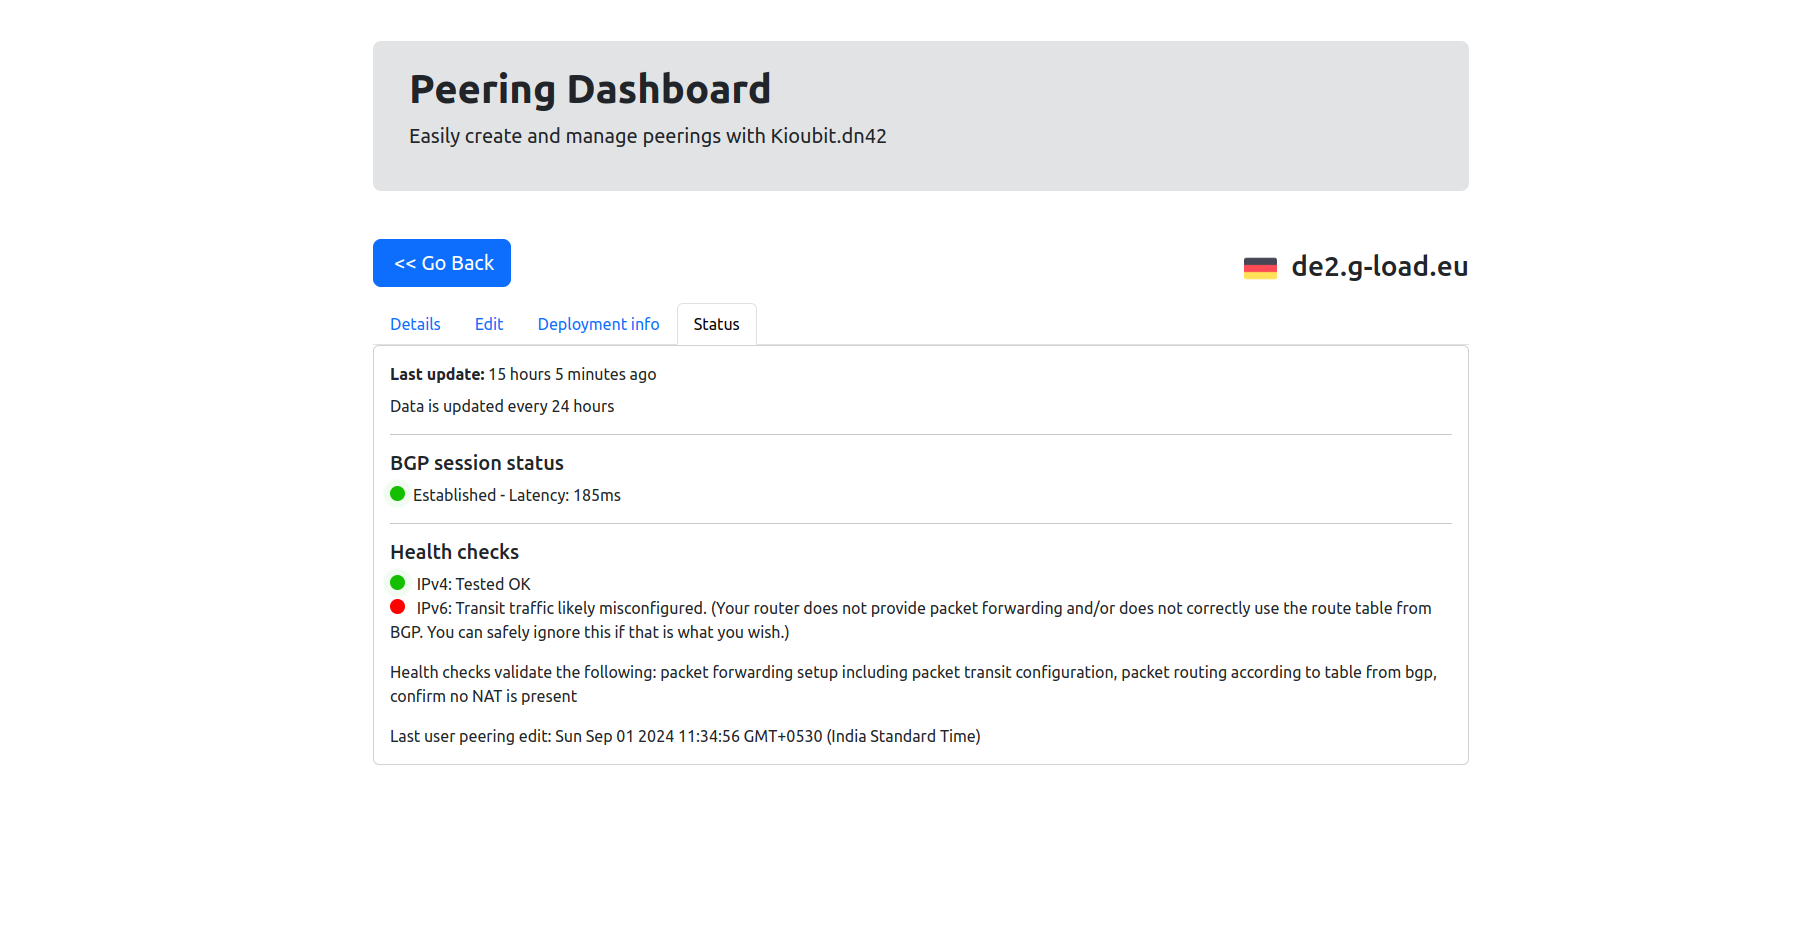
Peering with Kioubit#
I peered with the Kioubit Network, as they have automatic peering and a high centrality in the mesh (they have the most neighbours).
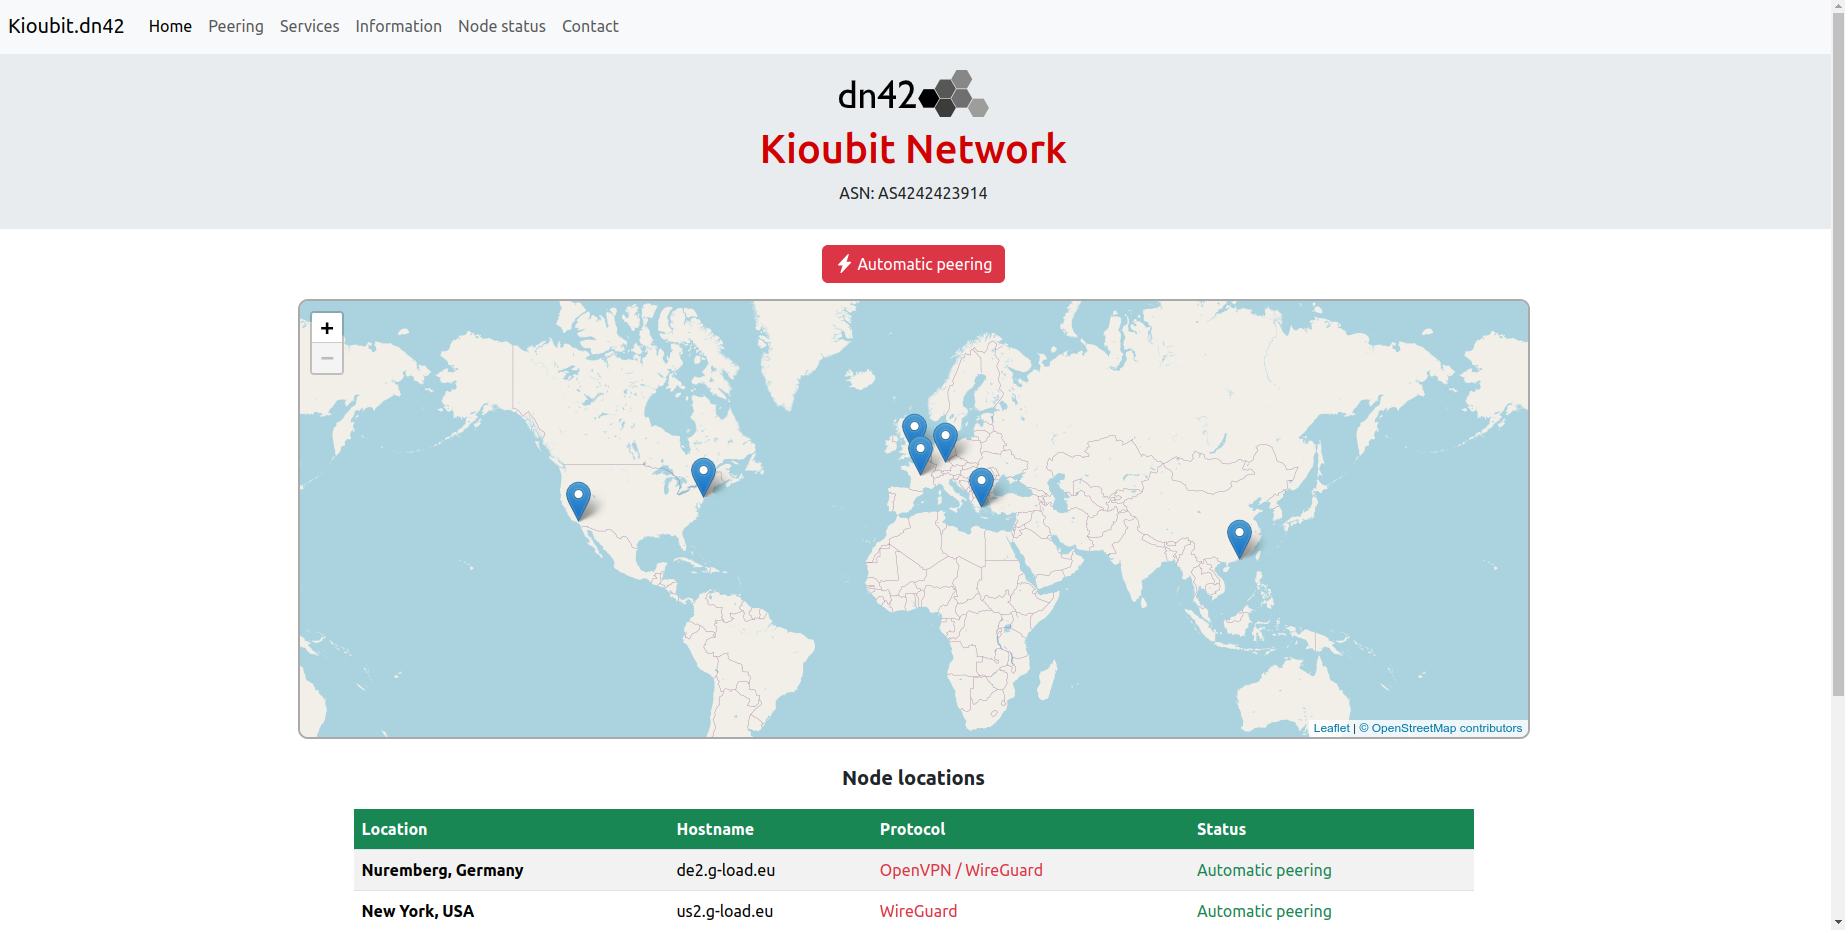
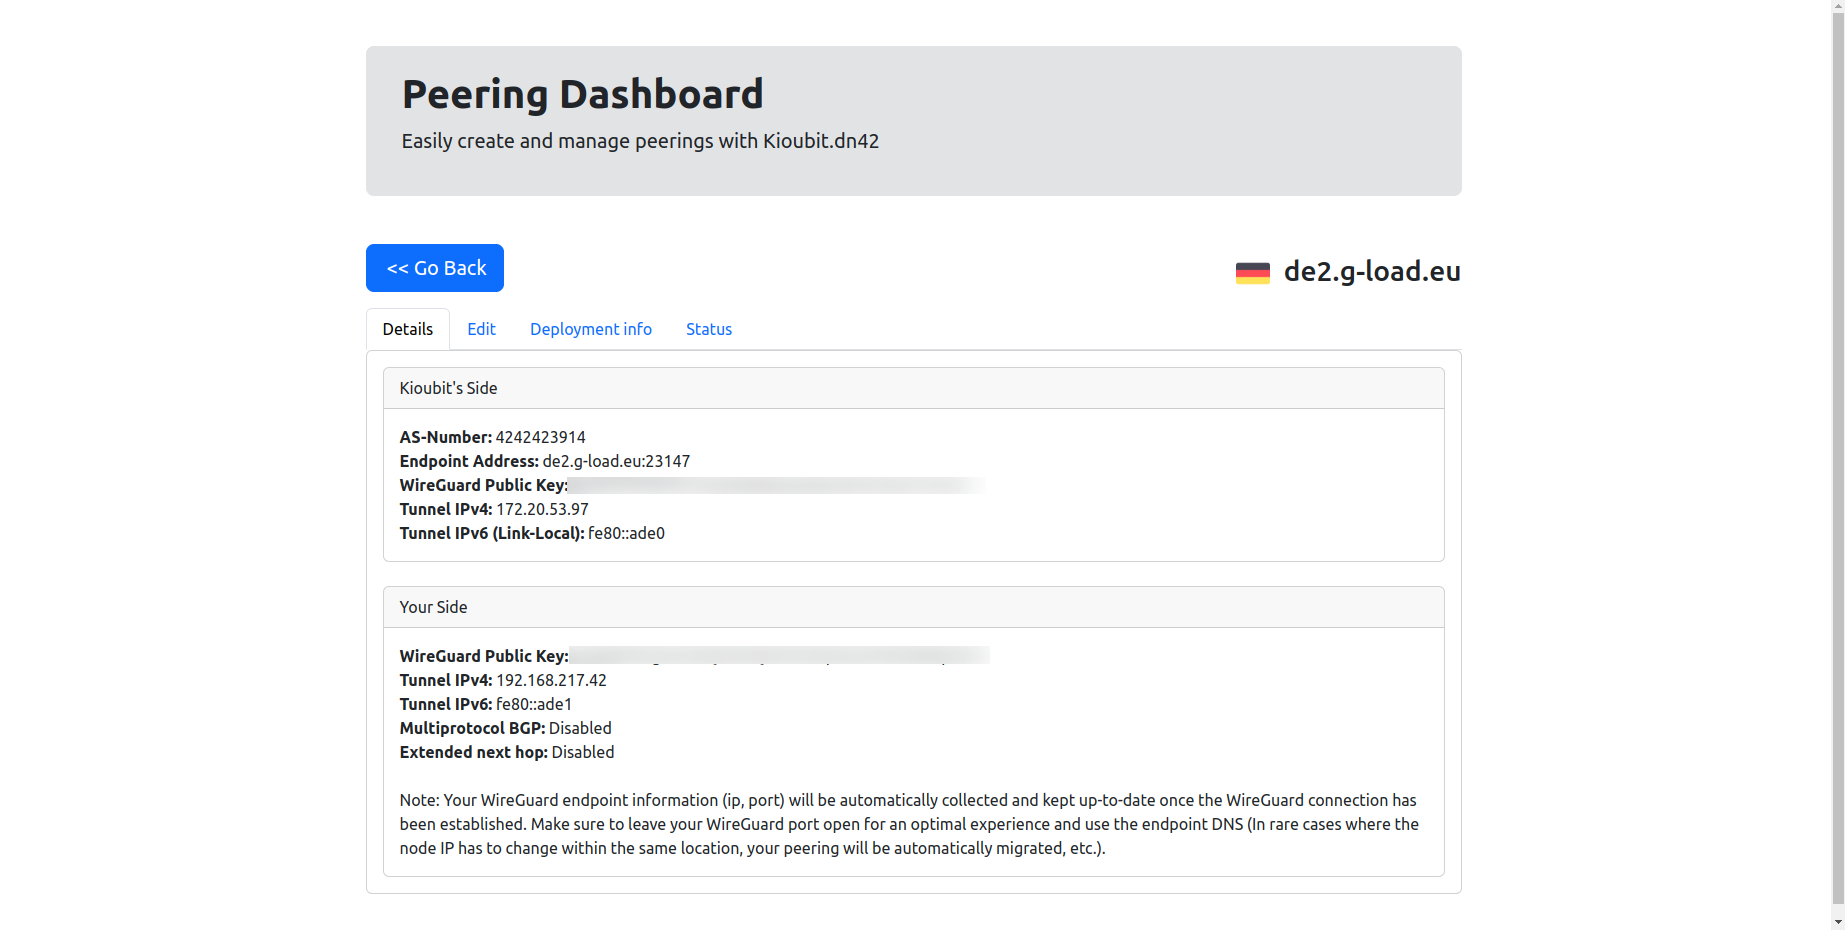
I used Kioubit’s automatic peering wizard to register my ASN, WireGuard public key and tunnel IP.
My side of Mikrotik router#
Wireguard Tunnel setup under Mikrotik
Create wireguard interface under MikroTik
/interface/wireguard> print
 0  R name="wireguard1" mtu=1420 listen-port=13231 private-key="My-private-key" public-key="My-Public-Key="
Here, add the Kioubit peer’s public key and endpoint address. On the Kioubit side, you need to add your public key.
/interface wireguard peers
add allowed-address=0.0.0.0/0,::/0 endpoint-address=de2.g-load.eu endpoint-port=23147 interface=wireguard1 public-key=Kioubit-public-key"
Create a VLAN to assign your DN42-allocated public-facing IP address. Since we are not directly connecting to any BGP neighbor using a physical interface, we need to use WireGuard for tunneling and BGP announcements.
/interface vlan
add interface=bridge1 name=vlan-BGP vlan-id=2020
Assign your public faced DN42 aloocated IP address
/ip address
add address=172.23.14.128/28 interface=vlan-BGP network=172.23.14.128
/ip firewall address-list
add address=172.23.14.128/28 list=BGP-OUT_IPv4
In MikroTik RouterOS 7, configuring BGP requires creating BGP templates first. These templates define general settings that can be reused for multiple BGP peers, making configuration more efficient and manageable.
/routing/bgp/template> print
name="dn-42" routing-table=main router-id=172.23.14.129 as=4242423147 multihop=yes address-families=ip,ipv6 output.network=BGP-OUT_IPv4
/routing bgp connection
add address-families=ip,ipv6 as=4242423147 disabled=no local.address=192.168.217.42 .role=ebgp multihop=yes name=PEER_TO_ISP output.default-originate=always .network=BGP-out .redistribute=connected,bgp remote.address=172.20.53.97 .as=4242423914 router-id=172.23.14.129 routing-table=main templates=dn-42
Note make sure to enable option Multihop=yes, it is used when establishing an External BGP (eBGP) session with a peer that is not directly connected, since we are using wireguard.
Ensure that routes are manually added if they are not automatically configured by the router.
/ip route
add disabled=no distance=1 dst-address=172.20.53.97/32 gateway=wireguard1 pref-src=192.168.217.42 routing-table=main suppress-hw-offload=no
add disabled=no distance=1 dst-address=172.23.14.128/28 gateway=wireguard1 pref-src="" routing-table=main suppress-hw-offload=no
If succesfully configured the BGP then under bgp session It provides detailed information about an active BGP (Border Gateway Protocol) session.
/routing/bgp/session> print
Flags: E - established
 0 E name="PEER_TO_ISP-1"
     remote.address=172.20.53.97 .as=4242423914 .id=172.20.53.97 .capabilities=mp,rr,gr,as4,err,llgr .hold-time=4m .messages=106062 .bytes=11067489 .gr-time=120 .eor=ip
     local.address=192.168.217.42 .as=4242423147 .id=172.23.14.129 .capabilities=mp,rr,gr,as4 .afi=ip,ipv6 .messages=6733 .bytes=128428 .eor=""
     output.procid=20 .network=BGP-out .default-originate=always
     input.procid=20 ebgp
     multihop=yes hold-time=3m keepalive-time=1m uptime=4d16h5m42s920ms last-started=feb/01/2025 01:02:18
If the BGP configuration is correct, all BGP announcements from other ASes will be populated under the routing table and Kioubit side established status will be green.
/ip/route> print
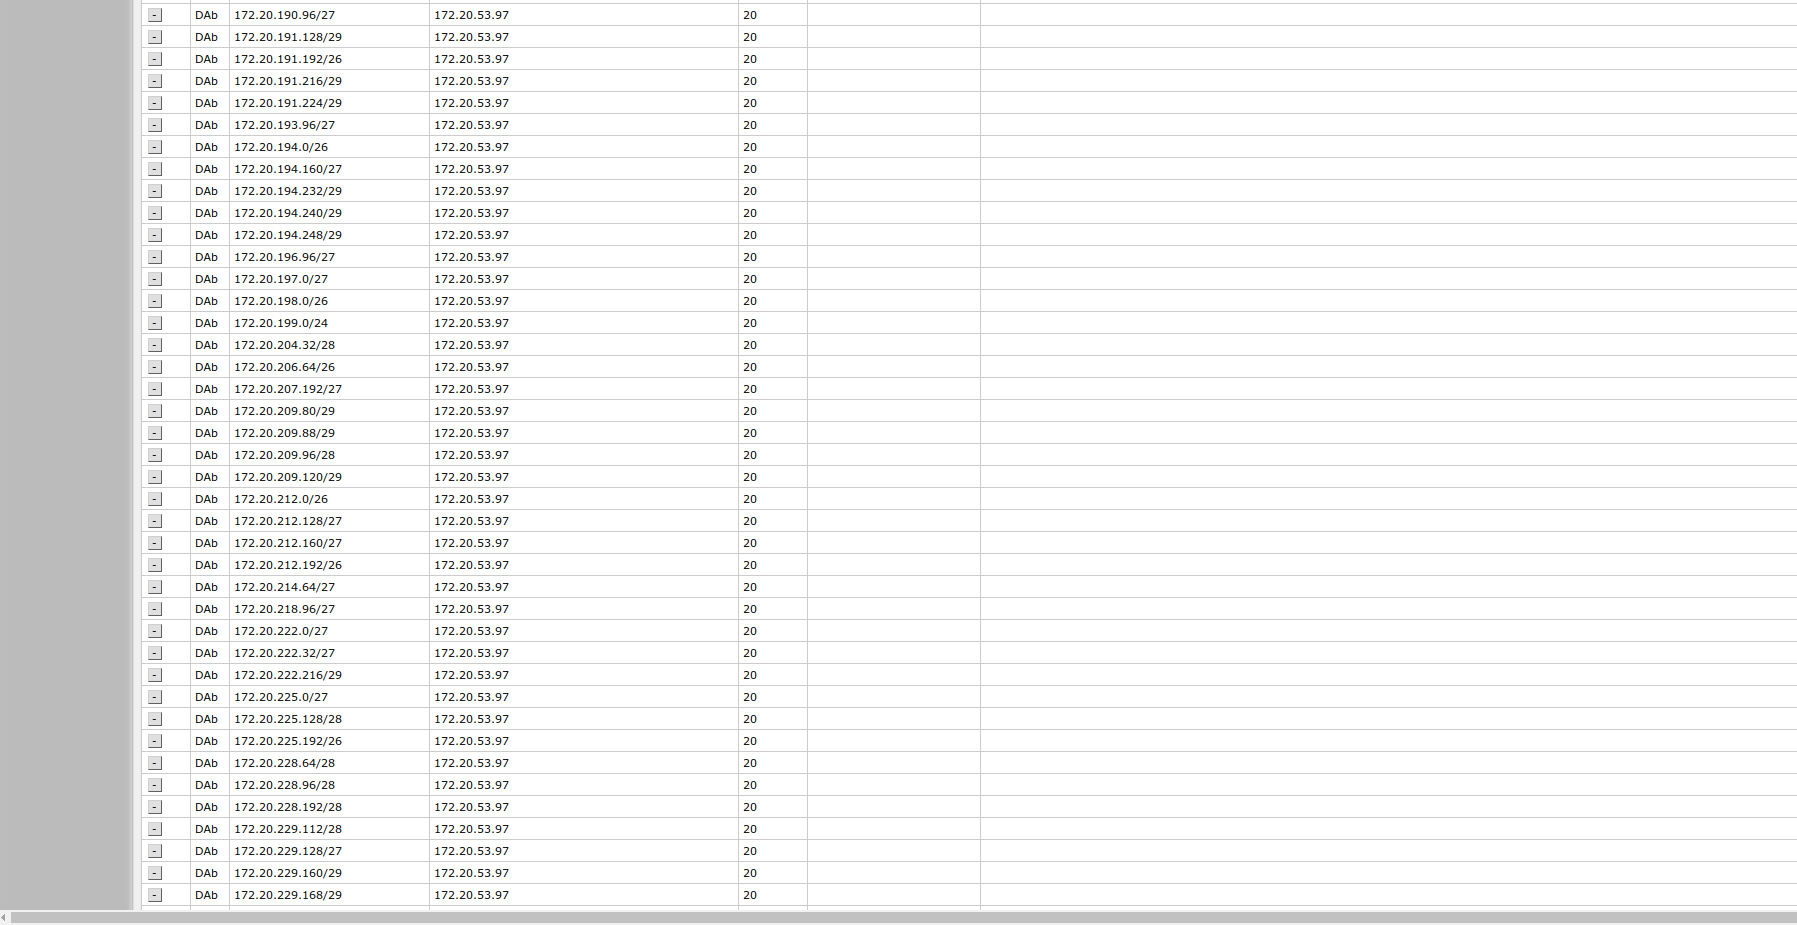
If you don’t have a router, you can still announce your BGP routes using a Raspberry Pi, PC, or laptop. By installing BIRD or Quagga, you can advertise your AS over a WireGuard tunnel